
The installation of tiles is a project that combines aesthetics and functionality in any home. This task requires a methodical approach, starting with the rigorous selection of materials that ensure durability and harmony with the existing decor. Preparing the substrate is fundamental to ensure optimal adhesion of the tiles. Next comes the laying process, which must be precise to avoid any aesthetic or structural defects. Finishing techniques, such as grouting, are crucial for a professional finish and perfect waterproofing. Mastering these steps is the key to impeccable tiling.
Prerequisites for a successful tile installation
Material selection: Before any installation work, the choice of materials is a strategic decision. Depending on the type of tile, whether it is a variety intended for the floor or the wall, the criteria vary: resistance, format, aesthetics, and compatibility with the available space. Professionals opt for materials suited to the specific conditions of each room. For tiling, the use of a Thinset of quality is recommended to ensure strong and durable adhesion.
Read also : Choosing the Right Steel for a Fire Pit Plate: Everything You Need to Know
Surface preparation: The surface to be tiled must be a blank canvas, clean and stable to accommodate the tiles. It requires meticulous sweeping or vacuuming. Any presence of dust or debris would compromise the effectiveness of the underlayment and, by extension, the laying of the first tile. An uneven surface requires precise leveling, sometimes with the help of a laser level, to avoid any future alignment defects.
Planning the layout: The layout, or the art of harmoniously arranging the tiles, must be executed with almost scientific rigor. Thoughtful planning allows for maximizing the use of whole tiles and minimizing the number of cuts, which are made using professional tile cutters. The use of spacers ensures uniform spacing, while finishes with trim for tiles after installation add a touch of elegance and protection. Each key step for a successful installation has its specific set of tools, essential to handle with precision and expertise. The quality of the installation largely depends on these prerequisites, which, if respected, invariably lead to a professional and satisfactory result.
See also : How to Dress as a Housekeeper?
Techniques and tips for a perfect finish
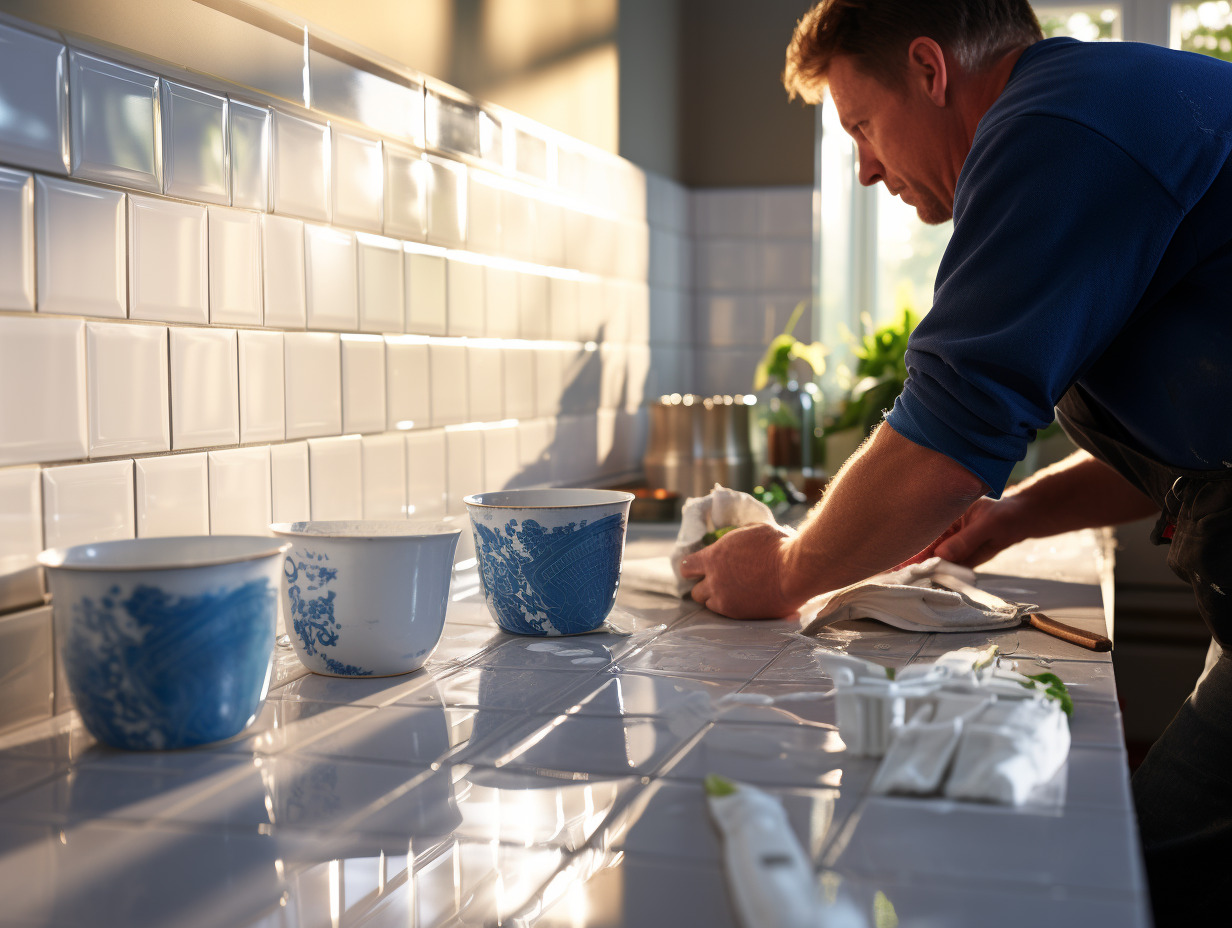
Grouting, a decisive step: The execution of tile joints does not tolerate amateurism. Use a trowel and a grout bag to apply the grout with precision. The grout float is then used to smooth the joint and remove excess product, while the finishing trowel perfects the surface. The grout cleaning kit comes into play as a final resort to erase any unwanted marks, leaving the joint lines clean and uniform.
Post-installation cleaning protocol: The final site cleaning is the finishing touch that showcases the completed work. Arm yourself with a bucket, a mop, and a sponge to remove all cement haze and mortar residues. This process reveals the natural shine of the tiles and confirms the quality of the installation. Carry out this operation carefully to avoid compromising the final appearance of the covering.
The importance of protective equipment: The safety of the tiler during installation and finishing should not be overlooked. Protective equipment such as gloves, safety glasses, knee pads, and noise-canceling headphones are essential to prevent the risk of injuries and irritations. Appropriate work attire also contributes to the comfort and efficiency of the professional during this demanding task.